Styles / Fashion & commercial
Dark-field glass still life
- Key: a spot or bare head, from behind, to the camera’s left, high, hard.
- Black flag: a black card, about 60° to the camera’s right, soft.
- Background light: a spot or bare head, from behind the subject, soft.
- Edge light: a strip softbox, from behind, to the camera’s left, soft.
- Edge light: a strip softbox, from behind, to the camera’s right, soft.
Key high: about 30–45° above eye level, angled down. No fill: a black card on the shadow side keeps the shadows dark (negative fill).
Schematic, not to scale: worked out from the style’s choices. No set-up of this style has been rendered yet.
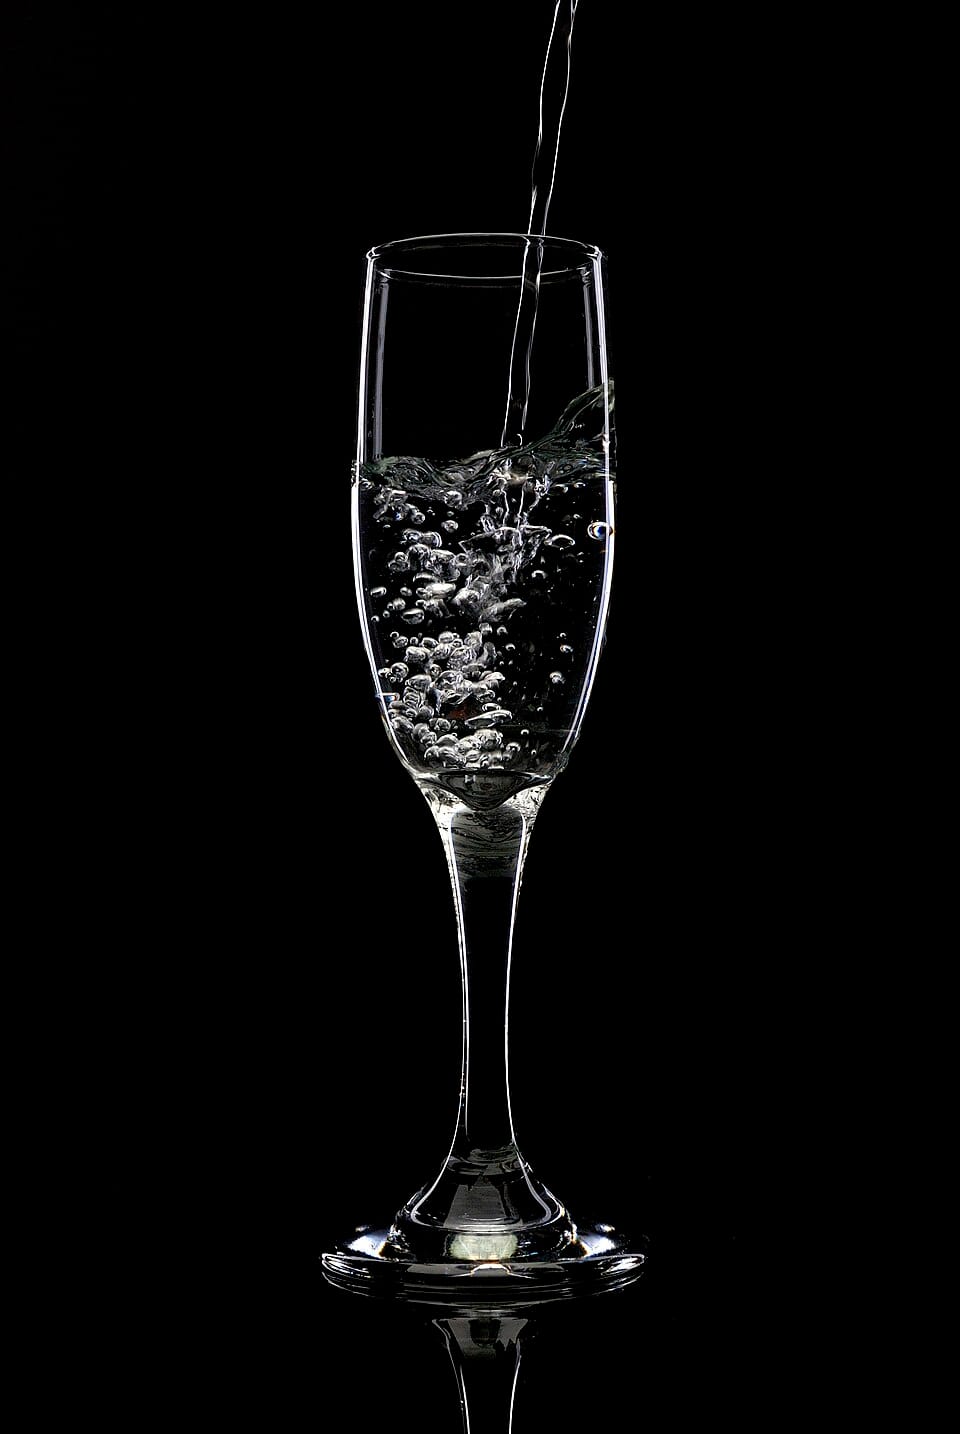
Dark-Field Lighting 1
Kyle May, Dark-Field Lighting 1, 2007, CC BY 2.0, via Wikimedia Commons. Source: Dark-Field Lighting 1 at Wikimedia Commons (from Flickr)

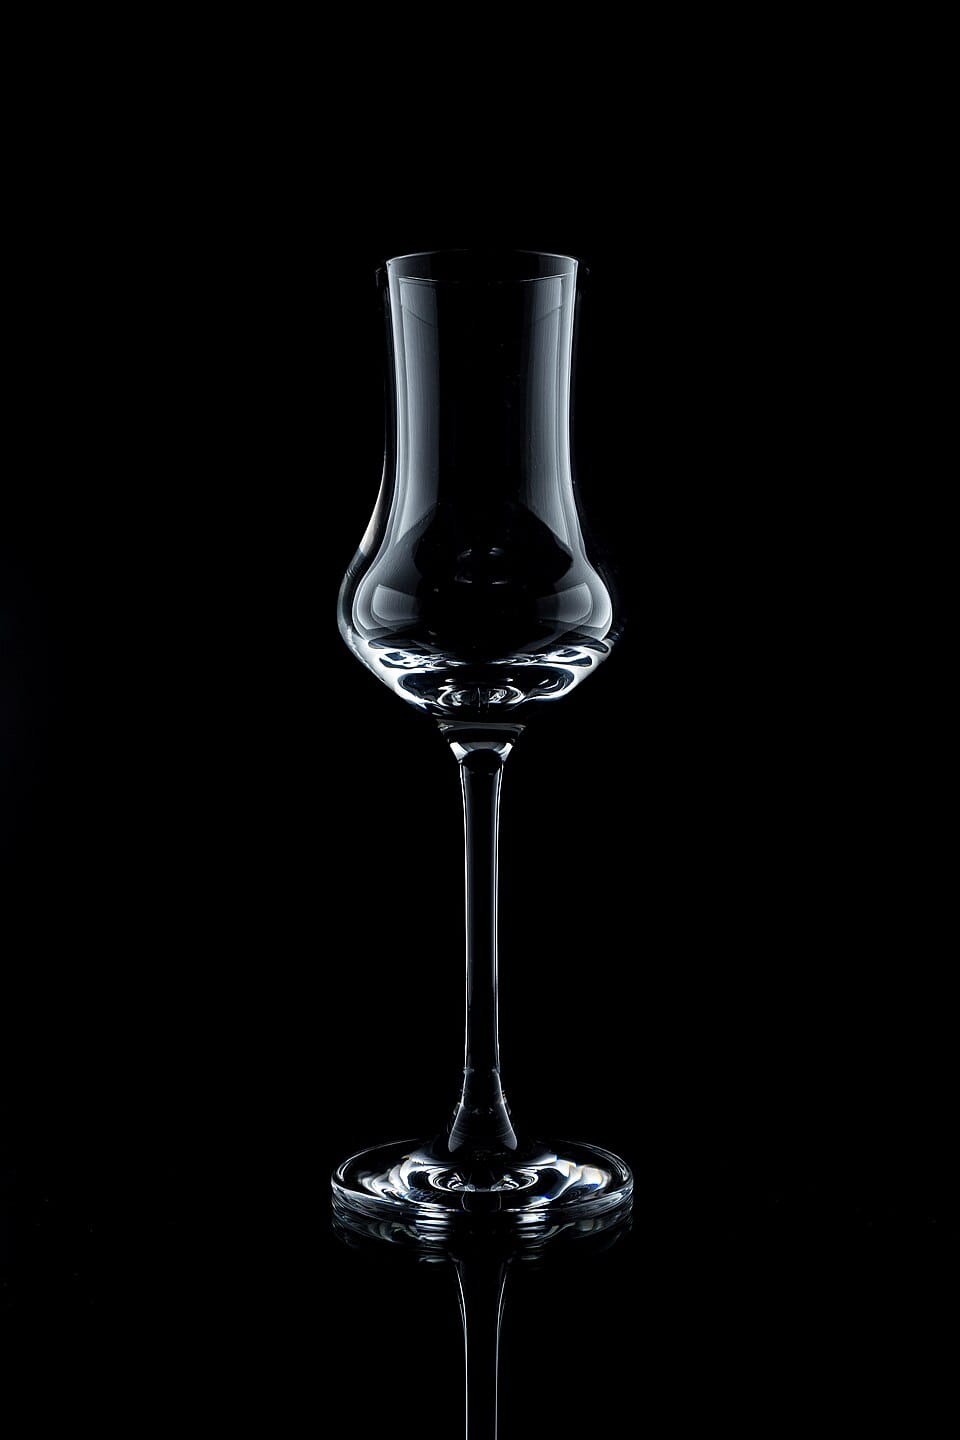
Drinking glass for Grappa
Ansgar Koreng, Drinking glass for Grappa, 2017, CC BY-SA 4.0, via Wikimedia Commons. Source: Drinking glass for Grappa at Wikimedia Commons

A clear glass stands alone in black, defined only by thin bright lines along its rim, stem and base. The light comes from behind or from the sides, out of the camera's view: a lit white wall or card is shut off by black flags until only slivers of it reach the glass, and the glass bends them into outlines. Nothing is lit from the front, so the field stays black. The object sits centred and upright, with a faint reflection in a black base, kept spotless and retouched.
Built mostly on one system: Clean packshot. What systems are.
Shoot sheet for your kit A prompt for an image model The photographs
How the look is made
- Light the glass from behind or from the sides through a white wall, card or diffuser, never from the camera side, so the front stays unlit and the background stays black.
- Mask the light with black flags, foam core or black umbrellas until only a narrow sliver reaches each edge of the glass; the width of the slit sets the width of the outline.
- Put the glass on black acrylic or black glass over a black backdrop, and darken the room, so the only reflection is a faint mirror image under the base.
- Centre the glass upright at eye level, with black space around it, and let the outline draw its shape: rim, stem, foot.
- Clean the glass of dust, prints and bubbles before every frame, and retouch what is left; any speck shows against black.
- Expose for the edges and let everything else go to pure black; use a second, snooted light only to add a little detail where the outline is too thin.
Shoot sheet for your kit
Fill in your camera, lenses and lights, and the sheet says which light plays each part, what to work around and where to start on your camera. Without a kit it starts on a full-frame camera.
Light
Key: a spot or bare head, from behind, to the camera’s left, high, hard.
Black flag: a black card, about 60° to the camera’s right, soft.
Background light: a spot or bare head, from behind the subject, soft.
Edge light: a strip softbox, from behind, to the camera’s left, soft.
Edge light: a strip softbox, from behind, to the camera’s right, soft.
- Key high: about 30–45° above eye level, angled down.
- No fill: a black card on the shadow side keeps the shadows dark (negative fill).
- Shadow edges
- Shadows with crisp outlines, cast by a small or distant light: direct sun, a bare flash, a spotlight.
- Shadow depth
- Shadows with no fill at all that fall to pure black with no detail, so parts of the subject disappear. Dark shadows that still hold some detail (a high lighting ratio, about 4:1 to 8:1: the shadow side two to three stops darker).
- Highlights
- Clean, controlled reflections of strip lights or panels running along glass, metal and glossy packaging, drawing the object’s edges as bright or dark lines. Small, bright glints where the light reflects off wet, oily or polished surfaces: glistening food, dewy skin, the sparkle of jewellery or chrome.
How the style is lit
- One strobe below or behind the set aimed at a white wall or card, black flags or black-side-out umbrellas left and right so only slivers reach the glass, a darkened room.
- A strobe through a white sheet or diffuser at each side of a black foam-core backdrop, black foam-core gobos closing the gap to a thin slit on each side.
- Two flashes behind a black background firing at a white wall, white polystyrene pieces at each side of the glass to carry light to the edges.
This plan is worked out from the style’s choices, so it is drawn as a schematic. One way to get the light, not a record of how any photograph was lit.
Lens and settings
Start at
On a full-frame camera: the same depth of field and exposure as the style’s own numbers, in the same light. Then meter and adjust.
- Then
- 50–150 mm · f/8–f/16 · 1/250–1/125 s · ISO 100–200 on full frame, inferred from the gear and the look. Photographers' captions give f/10 at 1/250 s (a gelled dark-field water drop on a Canon 7D) and f/11 with the ambient exposure held 2.7 stops under (Nikon flash); the rest follows from flash sync speed and a dark room. Splash set-ups use f/11, 1/200 s, ISO 200. A documented specimen (Canon EOS 6D at 55 mm, f/13, 1/160 s, ISO 100) sits inside these ranges.
- White balance
- Daylight or flash balance set neutral so clear glass stays colourless; the edge light is white and no warm room lights are left on.
- Focus
- Everything sharp from the nearest stone to the horizon.
- Angle
- The camera at the height of a standing person or of the subject.
- Balance
- The subject in the middle, the frame balanced around it. The subject faces the lens; planes run parallel to the picture.
- Crop & fill
- A small subject in a large empty field.
- Duration
- An unmoving scene, exposed slowly and carefully.
Direct
Nobody in the picture.
- Without a pose
- No people at all, or people so small or far off that their pose does not read (hands alone are Hands alone).
- The set-up
- Sets, models and miniatures built to be photographed.
Style the set
One clean, empty or part-filled glass on a black base, centred, with no props, garnish or table setting; dust, finger marks and stray bubbles cleaned off, and any residue retouched out.
- Set & props
- A painted, cloth, paper or seamless backdrop behind the subject.
- Food & things
- Everything clean, new and flawless: no dust, creases, fingerprints or wear.
- Look of the styling
- Few, simple elements on clean surfaces, with space around them.
Finish
- Monochrome
- A black-and-white scale pushed towards pure black and pure white, with few middle greys.
- Colour
- White balanced to the light, so whites stay white and skin, food and products keep their real colour, with no overall cast.
- Digital & other
- A modern digital camera: clean, detailed, neutral.
- Texture
- Smooth tones with no visible grain.
- Post-production
- Perfected skin and surfaces.
- Shown as
- Each picture stands on its own.
- Frame
- A tall frame made for phones and screens.
Stay away from high-key, window light, overcast & flat daylight, golden hour, shadowless, open, filled shadows, perfectly imperfect, curated props, saturated colour, visible grain, filter & preset look, candid & unobserved and food.
Before you shoot it
No people appear in this style; the technique is optical and carries no cultural claim.
A prompt for an image model
A ready prompt that describes this look to an image model: where the lights stand, the lens, the framing and the colour. It starts on the style’s own choices; change any of them and the prompt and the notes follow.
The prompt
Notes on this prompt
- How the style uses it: light the glass from behind or from the sides through a white wall, card or diffuser, never from the camera side, so the front stays unlit and the background stays black. Image models put the light in the wrong place more often than anything else, so the prompt says where each light stands: which side of the picture, and how high. Keep to one light pattern per prompt, or the model splits the difference.
- Black and white: colour words in the subject (a red dress, green leaves) can pull the model back to colour, so leave them out.
- Heavy retouching: ask for smooth skin that keeps its pores, or the model makes it look like plastic.
The model makes a new picture, not a photograph of anything that happened. Label it as AI-generated, and don’t pass it off as the style’s history or as a real person.
Photographs that define it
From open collections, shown whole with their credits. Later photographs are linked, not shown, while they are in copyright.
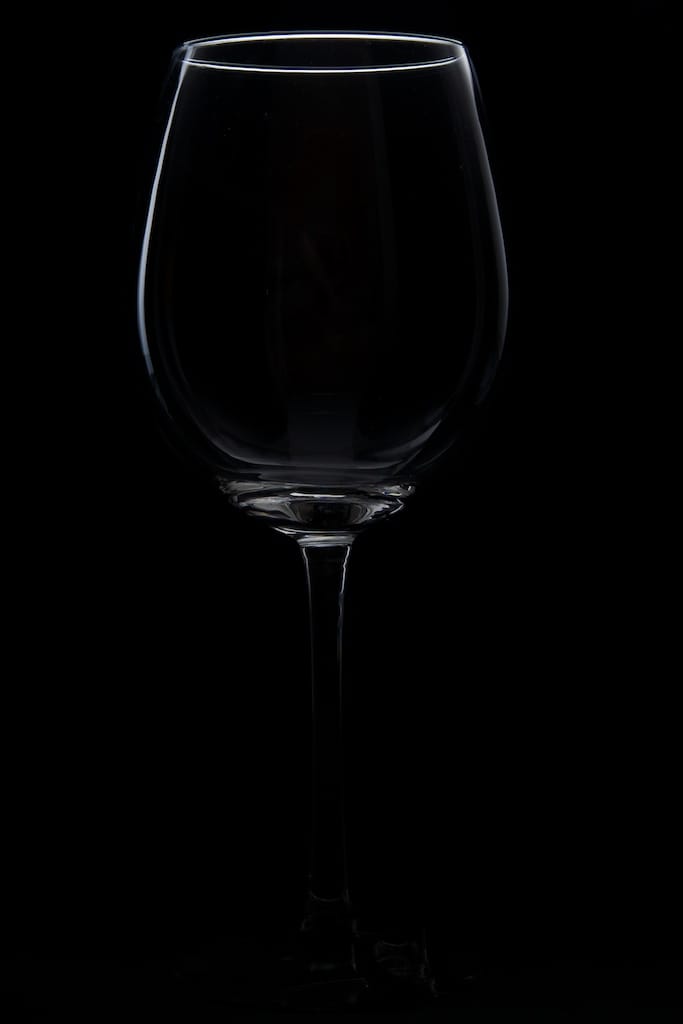
Hint of a glass
chriscom, Hint of a glass, 2010, CC BY-SA 2.0, via Wikimedia Commons. Source: Hint of a glass at Wikimedia Commons (from Flickr)

With other styles
The opposite: E-commerce packshot on white. Give the listing a white-field packshot and use the dark-field glass for the hero or secondary image; the white field shows the glass's outline as shadow, the dark field as light.
The opposite: Dark and moody food photography. Where dark and moody builds a rustic scene of texture and crumbs, dark-field removes everything but the outline of the glass; put a drink shot in one or the other, not both.
Pairs with New Objectivity photography. Borrow its frontal, exact description of an object when the glass should read as a precise, crafted form.
Sources
- Matt Bristow, Dark Field Lighting Technique: https://www.mattbristow.net/index.php/dark-field-lighting/ (first written in 2010, reposted 6 August 2013; glass on black foam core, one strobe below the table at a white wall, black umbrellas or flags left and right, a very dark room, an optional snooted second strobe)
- Broncolor, How to: Speed-Splashing: https://broncolor.swiss/news/how-to-speed-splashing (a 35 x 60 cm softbox as the glass's edge light, a lit frosted plate behind; Sony a9 III, f/11, 1/200 s, ISO 200; a lighting lead for splash work, not a static specimen)
- Kyle May, Dark-Field Lighting 1, Wikimedia Commons (CC BY 2.0, Flickr, 17 November 2007): https://commons.wikimedia.org/wiki/File:Dark-Field_Lighting_1.jpg (strobe through a white sheet at the sides of black foam core, gobos letting a sliver of light on each side)
- Kyle May, BrightDark Field Lighting, Wikimedia Commons (CC BY 2.0, 17 November 2007): https://commons.wikimedia.org/wiki/File:BrightDark_Field_Lighting.jpg (dark- and bright-field concepts combined)
- chriscom, Hint of a glass, Wikimedia Commons (CC BY-SA 2.0, 26 February 2010): https://commons.wikimedia.org/wiki/File:Hint_of_a_glass_-_Flickr_-_chriscom.jpg (SB-900 behind black paper, f/11, ambient exposure held down 2.7 EV)
- Ansgar Koreng, Drinking glass for Grappa, Wikimedia Commons (CC BY-SA 4.0, 24 September 2017): https://commons.wikimedia.org/wiki/File:Drinking_glass_for_Grappa,_1709241112,_ako.jpg (two Yongnuo 560III flashes behind a black background firing at a white wall, polystyrene at both sides)
- Dark Field Water Drop, Wikimedia Commons (CC BY 2.0, 26 May 2012): https://commons.wikimedia.org/wiki/File:Dark_Field_Water_Drop_(7275737770).jpg (three flashes behind a white acrylic sheet, Canon 7D, 1/250 s, f/10)
