Styles / Fashion & commercial
High-speed liquid-splash still life
- Left side flash: a strip, 12 × 22 cm, 86 cm from the objects, beside the subject, at the camera’s left, 35 cm above the table.
- Right side flash: a strip, 12 × 22 cm, 86 cm from the objects, beside the subject, at the camera’s right, 35 cm above the table.
To scale, from the render’s scene file. One way to get this light, not a record of how any photograph was lit.
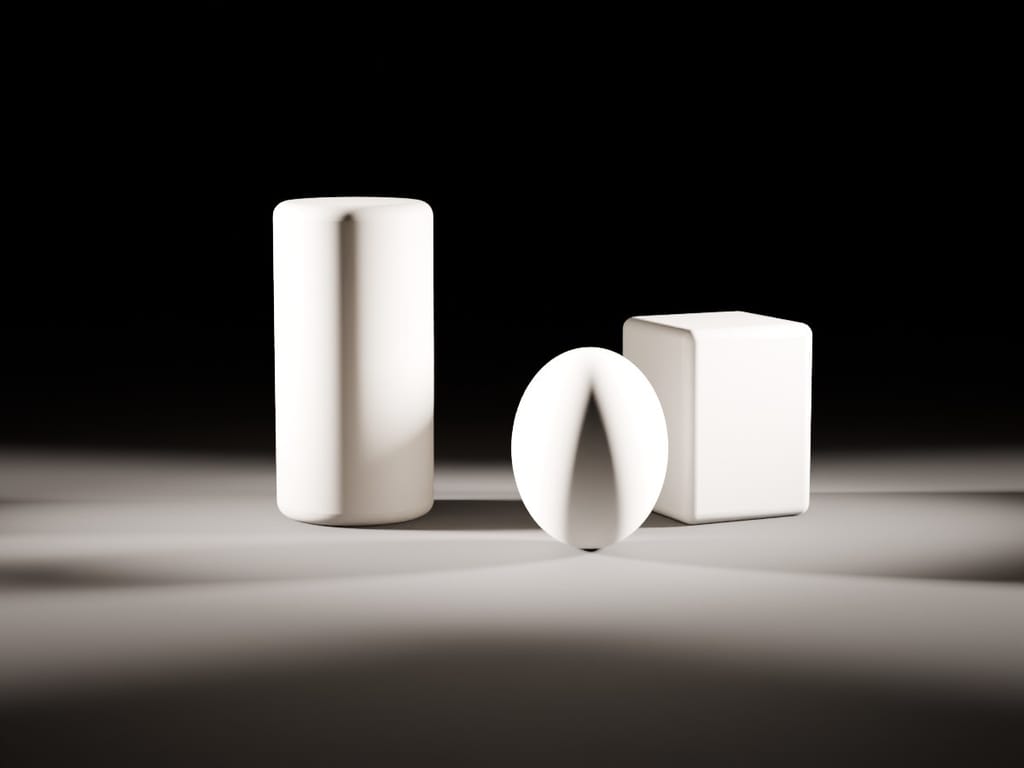
Rendered with this plan. Two restricted flashes from opposite sides against distant black (the studio light only, not a splash or its motion-freezing pulse).
Render: objects on a table, in Blender Cycles, 85 mm, f/11.
The photographs that define it are still in copyright, so they are linked below rather than shown.
Liquid becomes a temporary sculpture: a sheet wraps a product, fruit punches through water, or a drink leaps above its glass. Short flash pulses arrest individual beads and membranes against an uncluttered black, coloured or graduated ground. Controlled reflections, saturated ingredients and selective clean-up make one spectacular instant, sometimes assembled from separate splash exposures, rather than a motion-study sequence or a static catalogue view.
Built mostly on one system: Clean packshot. What systems are.
Shoot sheet for your kit A prompt for an image model The photographs
How the look is made
- Arrange a splash, pour or impact so a sharp liquid sheet and separated droplets become the main shape around the object.
- Freeze the liquid with a short flash pulse while keeping ambient exposure negligible; do not confuse the camera's sync-speed exposure with the duration that stops the action.
- Light transparent liquid from beside or behind and control the reflected panels on the glass; use broader frontal fill for opaque white liquid.
- Frame the whole splash against a plain or graduated ground, leaving room for droplets without introducing a domestic setting.
- Repeat the action at a fixed focus position, select the clearest instant and remove distracting marks; disclose any assembly of separately photographed splashes.
Shoot sheet for your kit
Fill in your camera, lenses and lights, and the sheet says which light plays each part, what to work around and where to start on your camera. Without a kit it starts on a full-frame camera.
Light
Key: a softbox, about 40° to the camera’s left, high, soft.
Rim or hair light: a spot or bare head, from behind, to the camera’s right, high, hard.
Fill: a softbox, about 35° to the camera’s right, soft.
Background light: a spot or bare head, from behind the subject, soft.
Rim or hair light: a spot or bare head, from behind, to the camera’s left, high, hard.
- Key high: about 30–45° above eye level, angled down.
- Shape & form
- Light turning gradually into shade across faces and objects, so their volume shows.
- Highlights
- Small, bright glints where the light reflects off wet, oily or polished surfaces: glistening food, dewy skin, the sparkle of jewellery or chrome. Clean, controlled reflections of strip lights or panels running along glass, metal and glossy packaging, drawing the object’s edges as bright or dark lines. Even the brightest parts (clouds, white cloth, snow) keep texture and detail.
How the style is lit
- For transparent drinks, put a narrow softbox beside and slightly behind the glass, backlight a frosted panel to form a pale background gradient, and add a tightly controlled accent on the ice; use a reflector only where the front needs opening.
- For an aquarium splash on black, place one flash on each side aimed at the impact area, restrict spill from the distant black ground and keep ambient light from recording a second blurred outline.
- For opaque white liquid against colour, use broad soft sources from front-left and front-right, a weaker rear edge and separate background lights; keep the white folds modelled rather than clipped.
This plan is worked out from the style’s choices, so it is drawn as a schematic. The set-up at the top of the page is the one we rendered, to scale. One way to get the light, not a record of how any photograph was lit.
Lens and settings
Start at
On a full-frame camera: the same depth of field and exposure as the style’s own numbers, in the same light. Then meter and adjust.
- Then
- 70–200 mm · f/11–f/16 · 1/200–1/125 s · ISO 100–200 on full frame, inferred from the gear and the look. A full-frame starting envelope, not a measured population range: the focal-length range is a practical lens-choice suggestion based on a 70–200 mm zoom used at 200 mm in the aquarium tutorial; the source sensor format and full-frame equivalent are unstated. Sources give f/16, ISO 100, 1/125 s for an aquarium shoot and f/11, ISO 200, 1/200 s for a full-frame glass shoot; these are shutter times, not flash durations, and composite components may use different exposures.
- White balance
- Balance the flashes against a neutral target so white liquid stays white and ingredients retain their colour; keep a deliberately coloured background separate from an accidental overall cast.
- Focus
- Everything sharp from the nearest stone to the horizon.
- Angle
- The camera at the height of a standing person or of the subject.
- Distance
- Within arm’s reach: faces, hands and details fill the frame.
- Balance
- The subject in the middle, the frame balanced around it. Tilted lines and oblique movement drive the picture.
- Instant
- Movement stopped dead by a fast shutter or flash.
Direct
Nobody in the picture.
- Without a pose
- No people at all, or people so small or far off that their pose does not read (hands alone are Hands alone).
- The set-up
- A scene staged and directed like a film still or a painting.
Style the set
Choose a few clean products, fruit or pieces of glassware and a plain ground; engineer the liquid shape through repeated action, with colour and transparency as the styling rather than rustic surfaces or table clutter.
- Set & props
- A painted, cloth, paper or seamless backdrop behind the subject.
- How much is styled
- Clothes, hair, make-up, props and set all chosen and placed by a team to one idea.
- Look of the styling
- Few, simple elements on clean surfaces, with space around them. Clothes, props and set kept to a few chosen colours that work together.
Finish
- Colour
- Strong, dense colours.
- Digital & other
- A modern digital camera: clean, detailed, neutral.
- Texture
- Smooth tones with no visible grain.
- Post-production
- Perfected skin and surfaces.
- Shown as
- Each picture stands on its own.
- Shown in
- Pictures made to sell, shown large.
Stay away from motion blur, long exposure, sequence & chronophotography, soft focus & diffusion, unstyled, as found, real, lived-in place, visible grain and candid & unobserved.
Before you shoot it
The examples are authored work, including work by living practitioners: credit and license their photographs, do not copy their exact splash shapes or product compositions, and never prompt with a photographer's name. Some opaque splashes use paint rather than food: do not imply that such a scene is edible. Water and electrical equipment require a planned, protected working area; the cited aquarium guide explicitly warns about spills near camera and flashes. This entry is not an electrical-safety procedure.
A prompt for an image model
A ready prompt that describes this look to an image model: where the lights stand, the lens, the framing and the colour. It starts on the style’s own choices; change any of them and the prompt and the notes follow.
The prompt
Notes on this prompt
- This is the set-up rendered at the top of the page, so the prompt puts its lights where the render has them. Image models put the light in the wrong place more often than anything else, so the prompt says where each light stands: which side of the picture, and how high. Keep to one light pattern per prompt, or the model splits the difference.
- Heavy retouching: ask for smooth skin that keeps its pores, or the model makes it look like plastic.
The model makes a new picture, not a photograph of anything that happened. Label it as AI-generated, and don’t pass it off as the style’s history or as a real person.
Where to see it
From open collections, shown whole with their credits. Later photographs are linked, not shown, while they are in copyright.
In copyright, so linked
- White iPhone wrapped in a white liquid splash (descriptive title) , Alex Koloskov, published 16 May 2012; capture date unstated. Scott Kelby's Photoshop Insider; Alex Koloskov guest contribution.
- Yellow, orange and green produce entering water (descriptive title) , Stefan Mogyorosi, published 14 March 2021; capture date unstated. Digital Photography School.
- Glass of amber liquid splashing above ice (descriptive title) , published 14 March 2024; capture date unstated. broncolor.
Made by an AI model
An image gpt-image-2 made from this style’s choices, then checked against them by a vision model. Not a photograph, and not part of the style’s history. All generated images
-
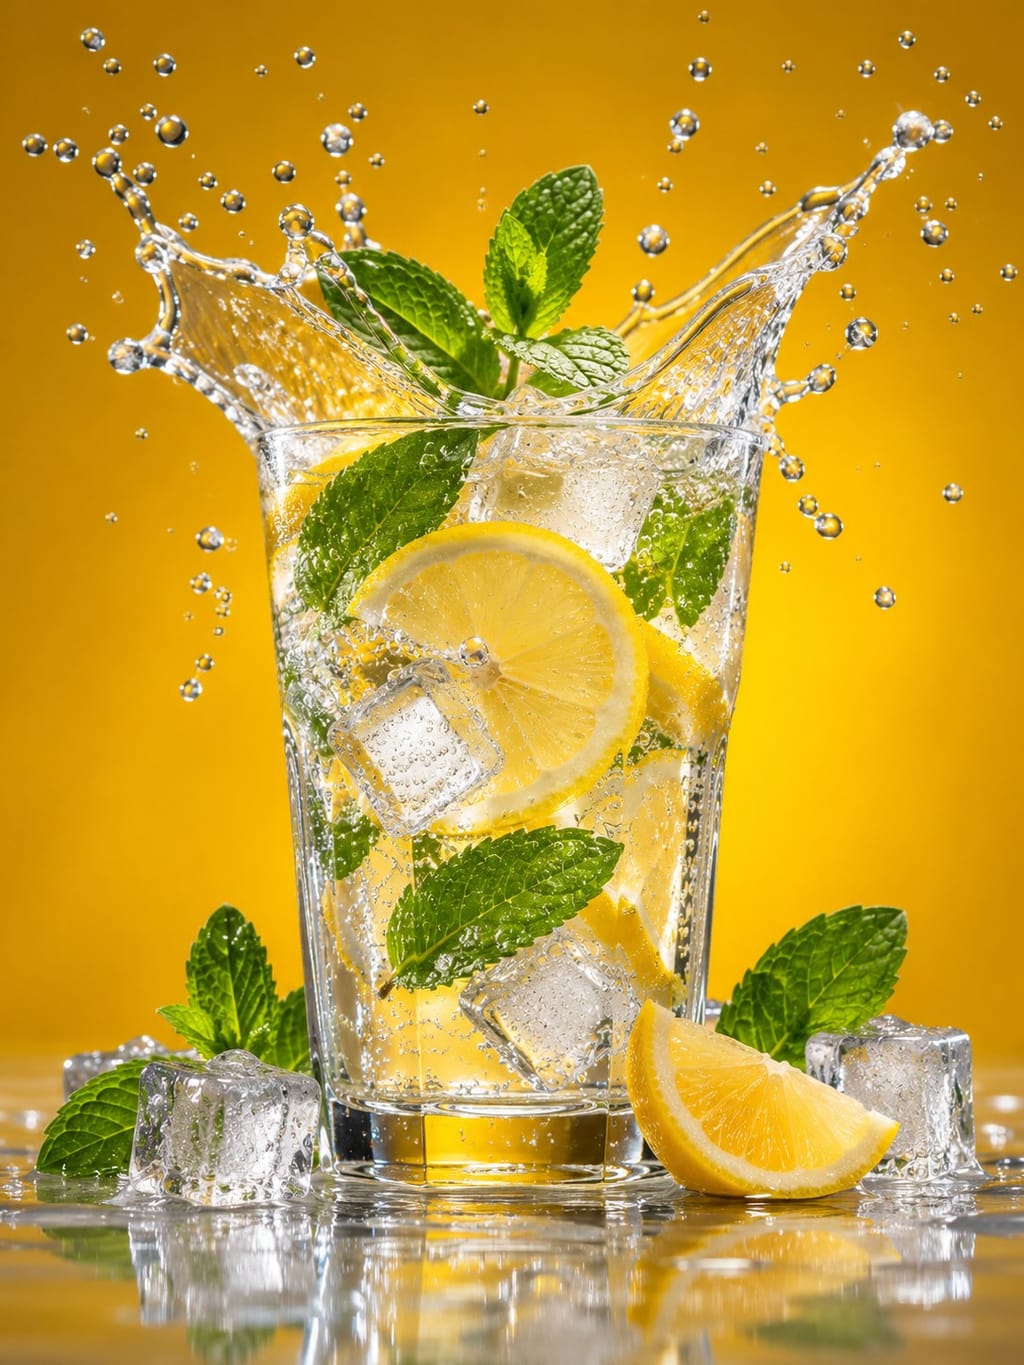
A tall glass of clear fizzy liquid with lemon slices, mint leaves and ice cubes stands against a vivid yellow background, with a large splash and suspended droplets above its rim. Extra ice cubes, mint and a lemon wedge sit on the wet, reflective surface around the glass. What the check saw. This is a highly polished beverage product image rather than a portrait, with no person depicted.
With other styles
The opposite: E-commerce packshot on white. Use a static descriptive packshot for the catalogue and the engineered liquid action for a separate campaign image; do not treat the splash as an unobstructed main listing view.
The opposite: Dark and moody food photography. Keep the dark ground if useful, but replace rustic props and soft window-light atmosphere with crisp droplets and deliberately shaped glossy reflections.
The opposite: Chronophotography. Select one striking instant rather than displaying phases in a measured sequence; fast capture alone does not make a motion-study plate.
Sources
- Alex Koloskov, first-person guest demonstration, 16 May 2012: https://scottkelby.com/its-guest-blog-wednesday-featuring-alex-koloskov/?amp=1 . A white phone and water-diluted white latex-paint splashes photographed separately and composited; front softboxes, a rear accent and separately lit yellow paper; short flash rather than shutter stops the splash; colour-checker workflow. Establishes a verified early digital example, not an invention date.
- Stefan Mogyorosi, Water Splash Photography Made Easy, Digital Photography School, published 14 March 2021: https://digital-photography-school.com/water-splash-photography-made-easy/ . First-person aquarium demonstration, two side flashes, distant black background, fixed manual focus, 200 mm lens, shoot settings ISO 100, f/16, 1/125 s, cleaning and retouching; author bio locates his practice in Oradea, Romania. Image upload paths include 2017 but actual capture dates are not stated.
- broncolor, How to: Speed-Splashing, published 14 March 2024 in page structured metadata: https://broncolor.swiss/news/how-to-speed-splashing . Edge softbox, backlit frosted background, projection accent and mirror; Sony alpha9 III, f/11, 1/200 s, ISO 200. Photographer and precise capture location are not supplied. Published flash timings are distinct from the camera shutter exposure.